Craving a quick chocolate fix? You’re in the right place! This Chocolate Lava Mug Cake recipe is easy and oh-so-delicious. In just minutes, you can enjoy a warm, gooey dessert that melts in your mouth. I’ll walk you through simple ingredients, preparation steps, and tips to make it perfect every time. Whether you’re a chocolate lover or a beginner, our guide will help you bake a delightful treat in no time!
What Ingredients Are Needed for a Chocolate Lava Mug Cake?
To make a chocolate lava mug cake, you need simple mug cake ingredients. The essential ingredients include:
– 4 tablespoons all-purpose flour
– 4 tablespoons granulated sugar
– 2 tablespoons unsweetened cocoa powder
– 1/8 teaspoon baking powder
– 1/8 teaspoon salt
– 3 tablespoons milk
– 2 tablespoons vegetable oil
– 1/4 teaspoon vanilla extract
– 1-2 squares of dark chocolate (about 1 ounce)
This chocolate lava mug cake recipe is easy and fast. Each ingredient plays a key role in creating that gooey center.
What are the essential ingredients for making a chocolate lava mug cake?
The flour gives structure. Sugar adds sweetness. Cocoa powder brings that rich chocolate taste. Baking powder helps the cake rise, while salt enhances flavor. Milk and oil add moisture. Vanilla gives a lovely aroma. Finally, dark chocolate creates the lava effect.
Can I use substitutions for any ingredients in the recipe?
Yes, you can use some substitutions. If you don’t have all-purpose flour, try almond flour or gluten-free flour. For dairy-free options, use non-dairy milk like almond or oat milk. You can swap vegetable oil with melted butter or coconut oil. If you want less sugar, try a sugar substitute.
What are some common mistakes to avoid with mug cake ingredients?
One common mistake is overmixing the batter. Mixing too much can make the cake tough. Another mistake is using too much flour; this can lead to a dry cake. Be careful with the cooking time; microwaving too long can ruin the lava center. Always start checking at 40 seconds.
Using the full recipe will help you avoid these pitfalls. Each step matters in making your mug cake perfect.
How Do You Prepare a Chocolate Lava Mug Cake?
To make a chocolate lava mug cake, follow these simple steps.
What are the step-by-step instructions to prepare the mug cake?
1. Grab a microwave-safe mug, about 12 oz in size.
2. Add 4 tablespoons of all-purpose flour, 4 tablespoons of granulated sugar, 2 tablespoons of cocoa powder, 1/8 teaspoon of baking powder, and 1/8 teaspoon of salt. Whisk these dry ingredients well.
3. Pour in 3 tablespoons of milk, 2 tablespoons of vegetable oil, and 1/4 teaspoon of vanilla extract. Stir until smooth. Make sure there are no lumps.
4. Take 1-2 squares of dark chocolate, about 1 ounce, and gently press them into the center of the batter.
5. Microwave the mug on high for 40 to 60 seconds. Check at 40 seconds. The cake should be set but still a bit gooey in the center.
6. Let it cool for 1 to 2 minutes before enjoying. The lava will be hot!
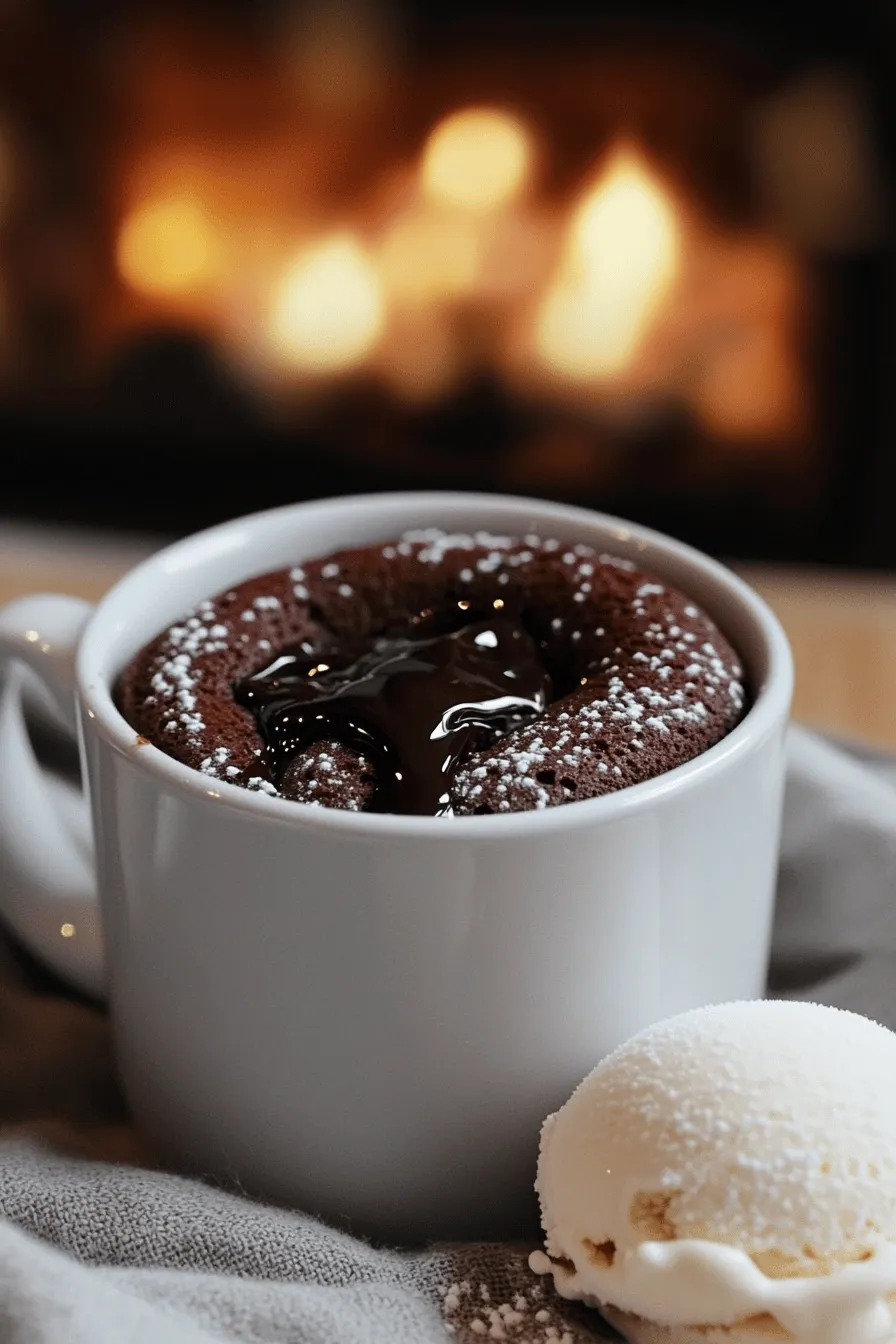
How do I ensure a perfect molten center?
To get that perfect molten center, don’t overcook the cake. Start checking at 40 seconds. The goal is for the outside to be firm while the center remains soft and gooey. Pressing the chocolate into the batter helps create that lava effect.
What microwave settings should be used for cooking the mug cake efficiently?
Use the high setting on your microwave. Most microwaves cook this type of cake best at full power. If your microwave is powerful, begin with 40 seconds. If it’s less powerful, you may need a bit longer. Always keep an eye on it to avoid overbaking.
This method makes a quick dessert perfect for any chocolate lover. For the full recipe, check out the recipe section above.
How Can You Enhance the Chocolate Lava Mug Cake Experience?
To make your chocolate lava mug cake even better, you can add toppings. Popular choices include whipped cream, ice cream, or fresh berries. Each topping gives a new taste and texture. For a crunchy twist, sprinkle nuts or chocolate chips on top.
You can also enhance the chocolate flavor with extracts. Adding a few drops of almond or mint extract can make a big difference. A pinch of sea salt on top brings out the chocolate taste even more. These small changes can turn a good dessert into a great one.
Customizing your mug cake for special occasions is fun. For birthdays, add colorful sprinkles. For a romantic dinner, top it with strawberries and a drizzle of chocolate sauce. You can even change the base cake by using different flavored cocoa powders. Try dark chocolate, white chocolate, or even espresso powder.
If you want to impress, consider making mini versions. Use smaller mugs for each person. This way, everyone can enjoy their own cake. You can find more ideas in the Full Recipe section. Enjoy your creation!
What Variations of Chocolate Lava Mug Cake Can I Try?
You can try many fun variations of chocolate lava mug cake. If you want a gluten-free option, use almond flour instead of all-purpose flour. Almond flour gives a nice texture and flavor. You can also use a gluten-free flour blend. Just make sure it has a good mix of starches.
To make a vegan chocolate lava mug cake, swap milk for almond milk or oat milk. Use a plant-based oil like coconut oil. Instead of dark chocolate, use vegan chocolate chips or a vegan chocolate bar. These swaps keep your dessert tasty and kind to your diet.
You can also play with flavors. Add a pinch of espresso powder to enhance the chocolate taste. For a fruity twist, mix in some raspberry or orange zest. If you like nuts, add chopped walnuts or hazelnuts before cooking. This adds a nice crunch and depth to each bite.
The full recipe is simple, and you can easily adapt it to fit your taste. Try these variations and enjoy your chocolate lava mug cake in new ways!
How Do You Serve a Chocolate Lava Mug Cake?
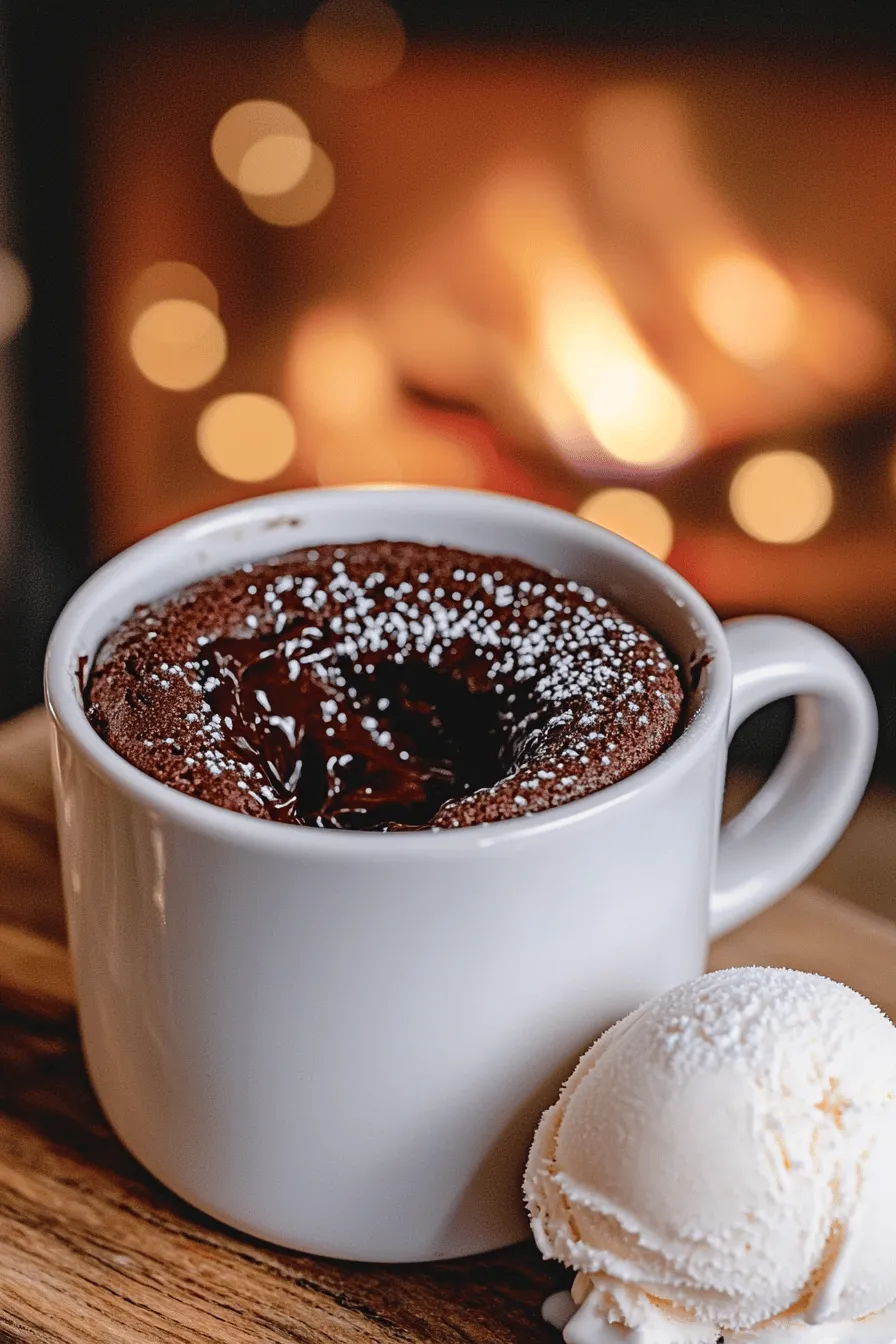
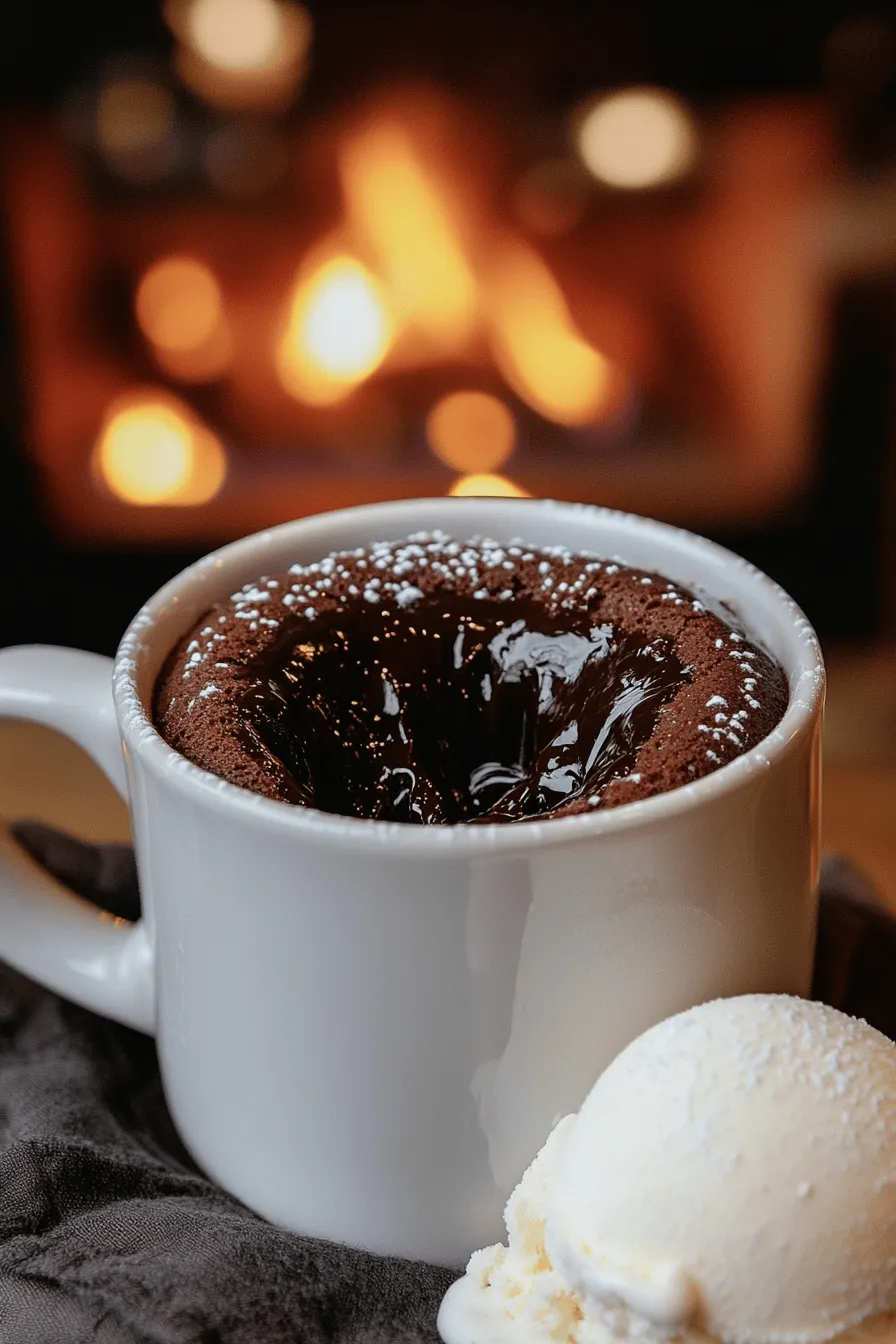
Serving a chocolate lava mug cake is simple, yet delightful. You can serve it straight from the mug. This keeps the warm, gooey center intact. Sprinkle some powdered sugar on top for a nice touch. It makes the dessert look fancy.
To boost the experience, add a scoop of vanilla ice cream. The cold ice cream pairs well with the warm cake. The hot chocolate filling contrasts with the coolness of the ice cream. This creates a fantastic flavor mix.
You can also serve it with a dollop of whipped cream. This adds lightness and a creamy texture. Garnishing with fresh berries offers a burst of freshness. Strawberries or raspberries work great here.
When choosing beverages, hot drinks like coffee or tea are perfect. They balance the sweetness of the cake. A glass of cold milk is also a classic choice. It complements the rich chocolate flavor.
If you want something different, try pairing it with red wine. A sweet or fruity wine can enhance the cake’s richness. It makes for a unique dessert experience.
For the full recipe, check out the details above. Enjoy serving this delicious treat!
What Tips Do You Need for Perfecting Your Chocolate Lava Mug Cake?
When your mug cake does not turn out right, don’t worry. Here are some troubleshooting tips. If your cake is too dry, try cooking it for less time. Start with 40 seconds and check often. If it sinks, you might have added too much liquid. A good rule is to stick to the recipe. If it looks too wet, it may need more cooking time.
To achieve the ideal texture, whisk your dry ingredients well. This helps mix the flour and cocoa. When adding wet ingredients, stir until smooth. Avoid lumps for a nice, fluffy cake. Press the chocolate in the center gently. This creates that gooey lava effect. Don’t rush the microwave; patience is key for the best results.
Safety is important when baking in the microwave. Use only microwave-safe mugs. Always check your mug for cracks. Be careful while removing hot mugs from the microwave. Let your cake cool for a minute before digging in. This helps prevent burns from the hot filling.
For the full recipe, check the earlier section. Enjoy making your cake!
Making a chocolate lava mug cake is simple and fun. We discussed the ingredients you need, how to perfect your baking, and great ways to enhance the experience. Remember, you can customize flavors and toppings to match your mood. With these tips, you can enjoy a delicious treat in minutes. Embrace this quick dessert and impress your friends or family. Enjoy making your chocolate creation, and happy baking!